GOAD (Game Of Active Directory) is an intentionally vulnerable cyber range used by pentesters and defenders to explore common attack techniques in a Windows Active Directory environment. It’s chock full of real-world misconfigurations and vulnerabilites, the type we see all the time in client environments. As such, it’s a great way to understand the capabilities of NodeZero, Horizon3’s autonomous pentesting platform.
This post will walk through how to set up and configure the GOAD environment, and then run NodeZero against it. To make it extra interesting, we’ll disable several “easy button” attacks:
- Our setup will be in AWS, where legacy protocols like LLMNR are disabled. No poisoning attacks.
- All Windows hosts will be patched to the latest version. No ZeroLogon, noPac, PrintNightmare, etc.
- Defender will be enabled on all hosts.
Let’s get started!
Overview of the GOAD Environment
The GOAD environment consists of 5 target hosts plus 1 attacker machine, i.e. the machine from which NodeZero will run.
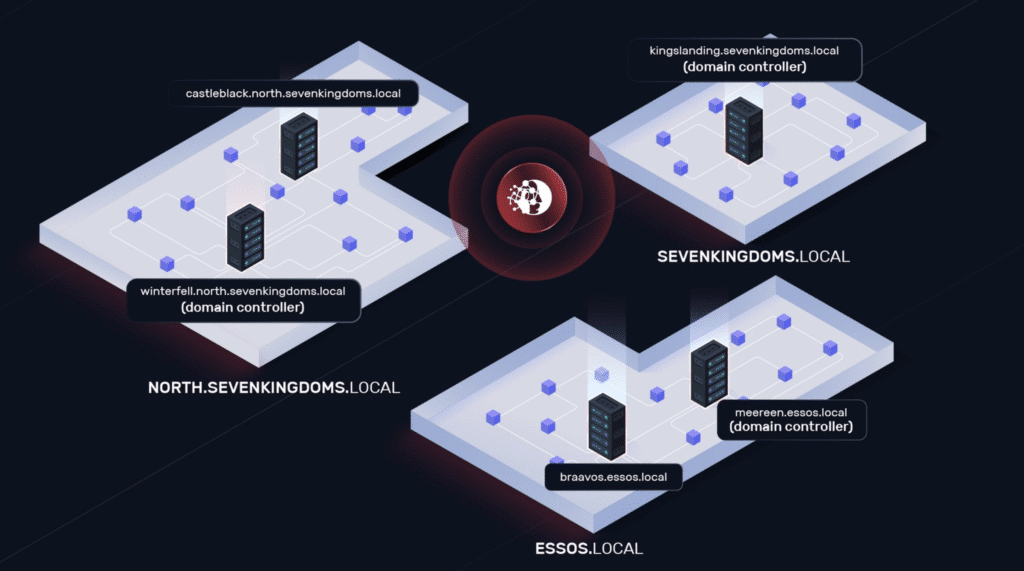
The 5 target hosts are part of three Active Directory domains and two forests.
- NORTH.SEVENKINGDOMS.LOCAL
- winterfell.north.sevenkingdoms.local (domain controller)
- castelblack.north.sevenkingdoms.local
- SEVENKINGDOMS.LOCAL
- kingslanding.sevenkingdoms.local (domain controller)
- ESSOS.LOCAL
- meereen.essos.local (domain controller)
- braavos.essos.local
GOAD Setup
GOAD can be set up with a number of different providers, from VMware and Proxmox to Azure and AWS. In this post we’ll go with AWS, using the instructions here with a few modifications. The instructions are similar across all providers.
First Steps
As documented here, to install GOAD on AWS you must first have the following installed:
- AWS CLI
- Terraform
Then:
- Set up an AWS profile called
goadin your~/.aws/credentialsfile with your AWS credentials - Check out the v3 branch of GOAD on GitHub
git clone https://github.com/Orange-Cyberdefense/GOADcd GOADgit checkout v3
- Run the following command to prep a
goad.inifile:./goad.sh -t check -l GOAD -p aws
Update the goad.ini File
The above command creates a goad.ini file in your home directory at ~/.goad/goad.ini. This file should be modified to select the AWS provider, set the AWS region where the GOAD instances will be deployed, and set the private subnet of the GOAD instances.
In this example, we’re using us-east-1 as the AWS region and 192.168.57.0/24 as the subnet where GOAD will be deployed.
[default]
; lab: goad / goad-light / minilab / nha / sccm
lab = GOAD
; provider : virtualbox / vmware / aws / azure / proxmox
provider = aws
; provisioner method : local / remote
provisioner = remote
; ip_range (3 first ip digits)
ip_range = 192.168.57

[aws]
aws_region = us-east-1
aws_zone = us-east-1a
Use the Latest AMIs
Now let’s make sure we’re using the latest patched Windows AMIs available in AWS, along with the latest patched Ubuntu AMI for the jumpbox. Run the following commands to view the latest AMIs available for your AWS region (us-east-1 in this example):
% aws ec2 describe-images --owners "amazon" --filters "Name=name,Values=Windows_Server-2019-English-Full-Base*" --query "Images[*].{ImageId:ImageId,Name:Name,CreationDate:CreationDate,Description:Description}" --output table --region us-east-1 --profile goad
% aws ec2 describe-images --owners "amazon" --filters "Name=name,Values=ubuntu/images/hvm-ssd/ubuntu-jammy-22.04-amd64-server-*" --query "Images[*].{ImageId:ImageId,Name:Name,CreationDate:CreationDate,Description:Description}" --output table --region us-east-1 --profile goad
In this example, we got ami-0623bc4c9a53fe562 as the latest Windows AMI to use and ami-021589336d307b577 as the latest jumpbox AMI to use.
Update the GOAD template files, template/provider/aws/jumpbox.tf and ad/GOAD/providers/aws/windows.tf, with these AMI ids, replacing the existing AMI ids in those files.
Enable Defender on All Hosts
By default Defender is enabled on all hosts except one, castelblack.north.sevenkingdoms.local. Let’s update castelblack to also run Defender. To do this, configure the file ad/GOAD/data/inventory to move srv02 into the defender_on section, as shown below:
; allow defender
; usage : security.yml
[defender_on]
dc01
dc02
dc03
srv03
srv02

; disable defender
; usage : security.yml
[defender_off]

;stay empty until override
[extensions]%
Run the Setup
Now you’re ready to set up the range. Run the following command, passing in the same IP subnet that you had configured in the goad.ini file, e.g.:
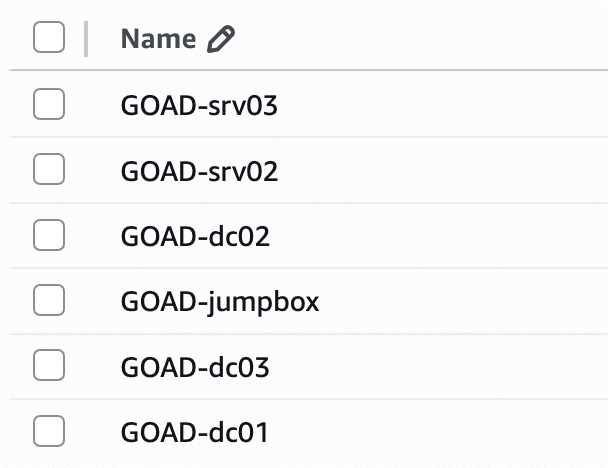
% ./goad.sh -t install -l GOAD -p aws --ip_range 192.168.57The process can take 2-3 hours, with a few yes/no confirmations early on. At the end of it, you should see 6 new hosts in your AWS account.
Post Setup
There are few more things to do to get the environment ready to run NodeZero.
Harden the AWS GOAD Security Group
By default the jumpbox is configured to accept traffic from any IP address to any inbound port. Modify the GOAD Security Group to lock this down to the SSH port and your own IP address.

Install Docker on the Jumpbox
Docker is a pre-requisite for running NodeZero.
To do this, ssh into the jumpbox, using the private key that was created by the ./goad.sh script during setup. This private key will be located at /workspace/xxxxxx-goad-aws/ssh_keys/ubuntu-jumpbox.pem inside the GOAD folder.
Then install Docker, following the instructions here.
Restart the Winterfell Domain Controller
One final thing before running NodeZero — We’ve observed a quirk in the GOAD setup where a specific SMB null session misconfiguration affecting the winterfell domain controller (dc02) that is supposed to be present isn’t actually present by default. To fix this, you just need to restart the domain controller, either from the AWS console or AWS CLI. This behavior is documented in this GitHub issue.
Run NodeZero
Now let’s run NodeZero! Below is an abbreviated version of the NodeZero quickstart guide.
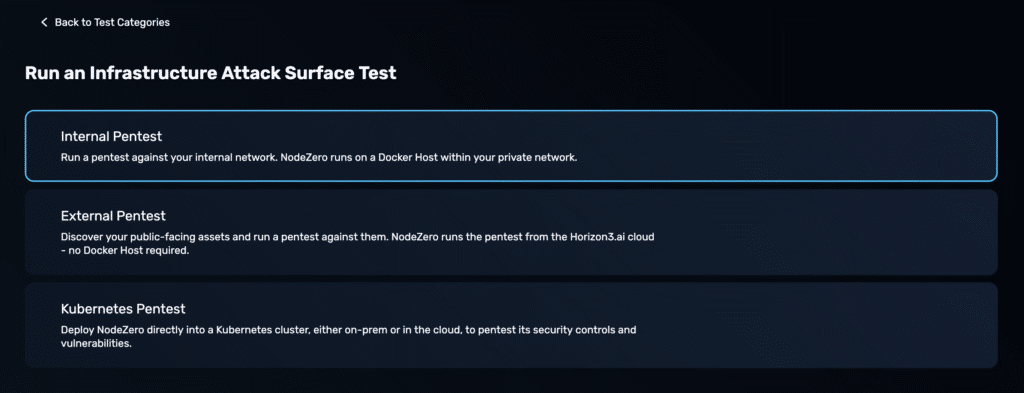
Log into the Horizon3 portal and choose to run an Internal Pentest:
Set the Scope
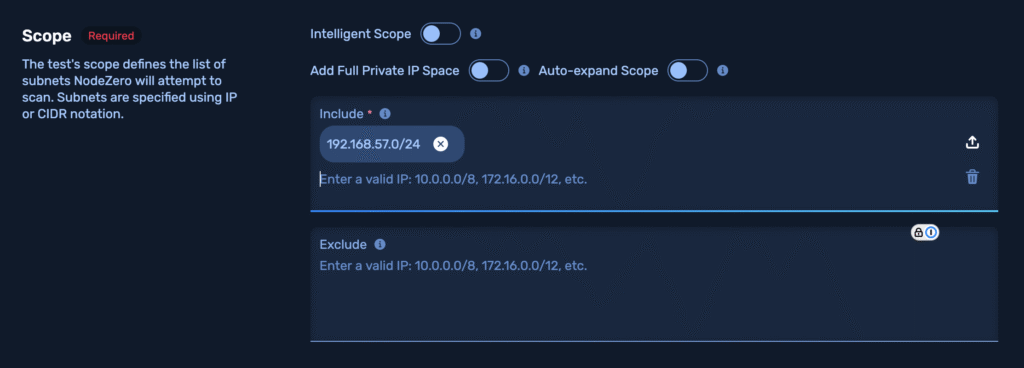
Set the scope of this test to include the GOAD IP range, e.g.
Set a Minimum Runtime
Though not strictly necessary, we recommend setting a minimum runtime for the test of 2 hours. This provides adequate time for NodeZero to conduct certain attacks that take a bit longer to execute, such as password spray or attacks derived from analyzing Bloodhound data.

Kick off the Test
Accept the terms and click “Run Pentest.”

On the next screen, you’ll be provided a curl script that you should copy and paste to run on the jumpbox.
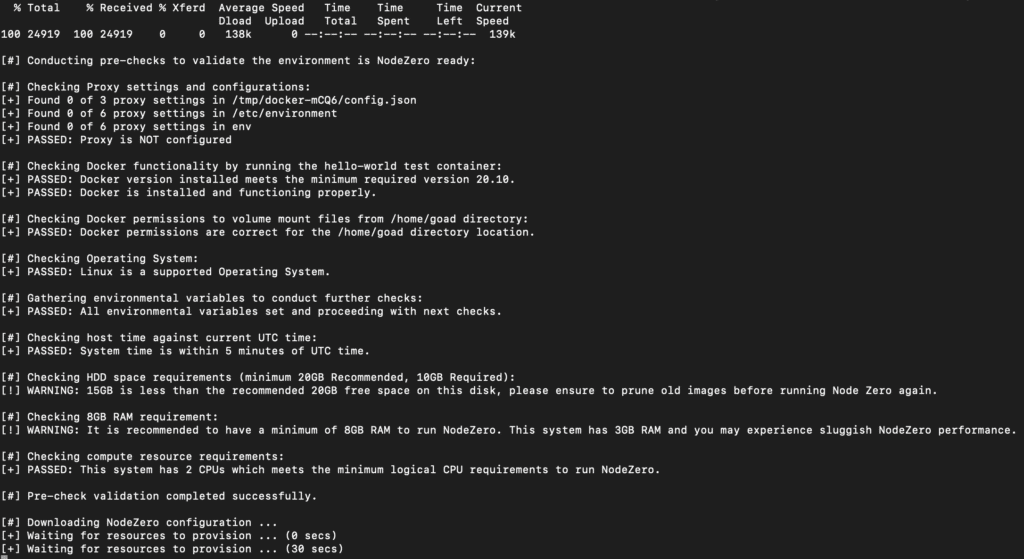
It will take a few minutes to download and initiate the container.
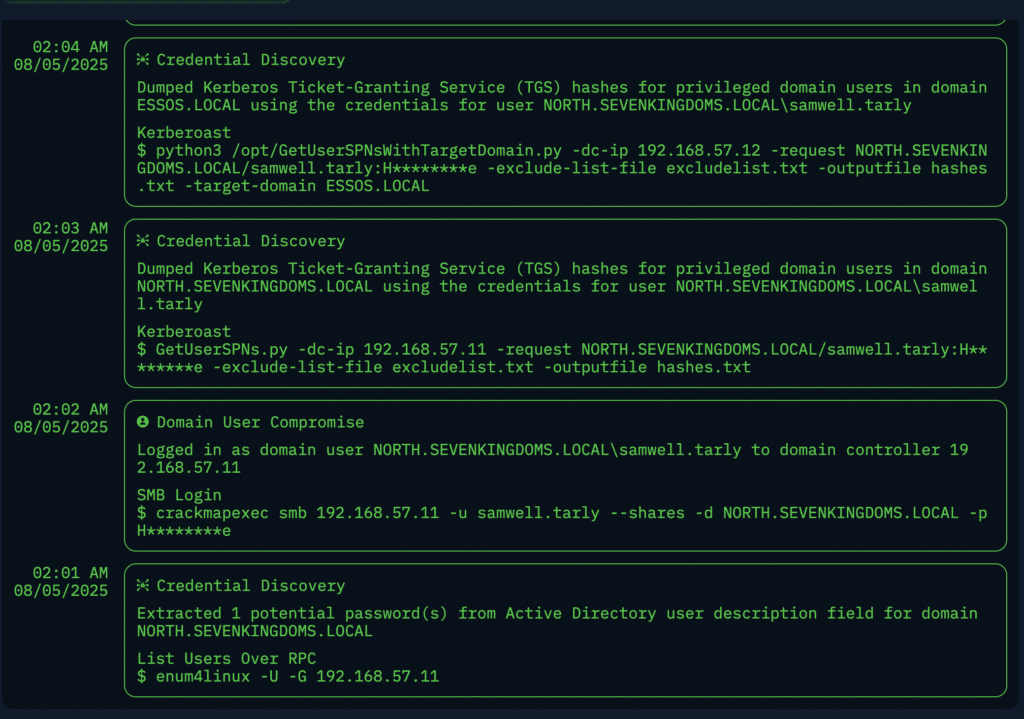
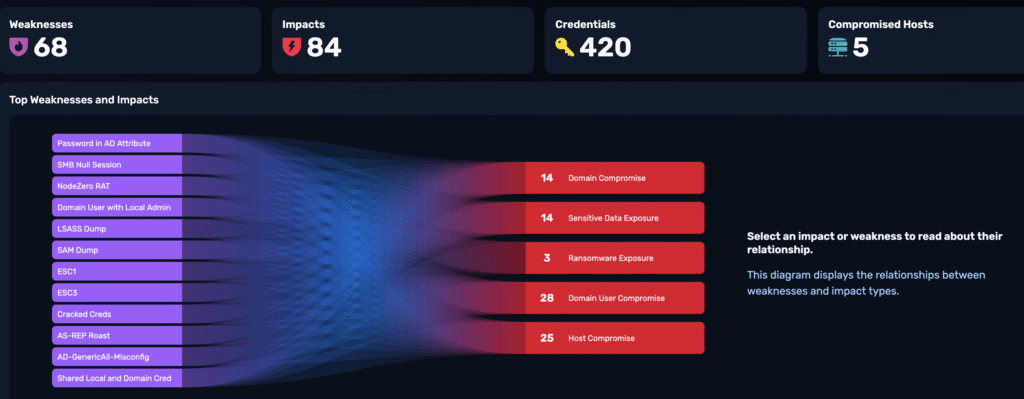
After it’s done, you’ll get a report that looks something like this:
Acknowledgements
We’d be remiss to not acknowledge the great work of @M4yFly and other contributors to the GOAD project over the years. We appreciate how well GOAD portrays real-world issues we often encounter in client environments. The GOAD environment and associated writeups are great resources for both aspiring pentesters and defenders.
Ready to See the Full Story?
NodeZero didn’t just survive GOAD — it conquered it in minutes without a single manual step. In our technical deep dive, we break down exactly how NodeZero identified and chained misconfigurations to take full control of every domain and host.
